In previous posts, we have built simple neural networks by hand. Fortunately, there are libraries to build network architectures and calculate gradients automatically. TensorFlow is one of the most famous one. I will explain how to install this Python library on Ubuntu 18.04.
Why using Docker?
Neural network calculations are primarily based on matrix operations, which are most efficiently performed on GPUs. In order to use your computer’s GPU with TensorFlow, it is necessary to install 2 libraries on your machine:
- CUDA (Compute Unified Device Architecture): a parallel computing platform developed by NVIDIA for general computing on GPUs
- cuDNN (CUDA Deep Neural Network): a GPU-accelerated library of primitives used to accelerate deep learning frameworks such as TensorFlow or Pytorch.
As you can see, there is a lot of prerequisites before being able to install TensorFlow. You can follow the official procedure to install CUDA from the NVIDIA website here. However, I learnt the hard way that it is easy to mess up your computer and your graphics card while installing all these libraries and drivers. That’s why, I would highly recommend installing TensorFlow inside a Docker container.
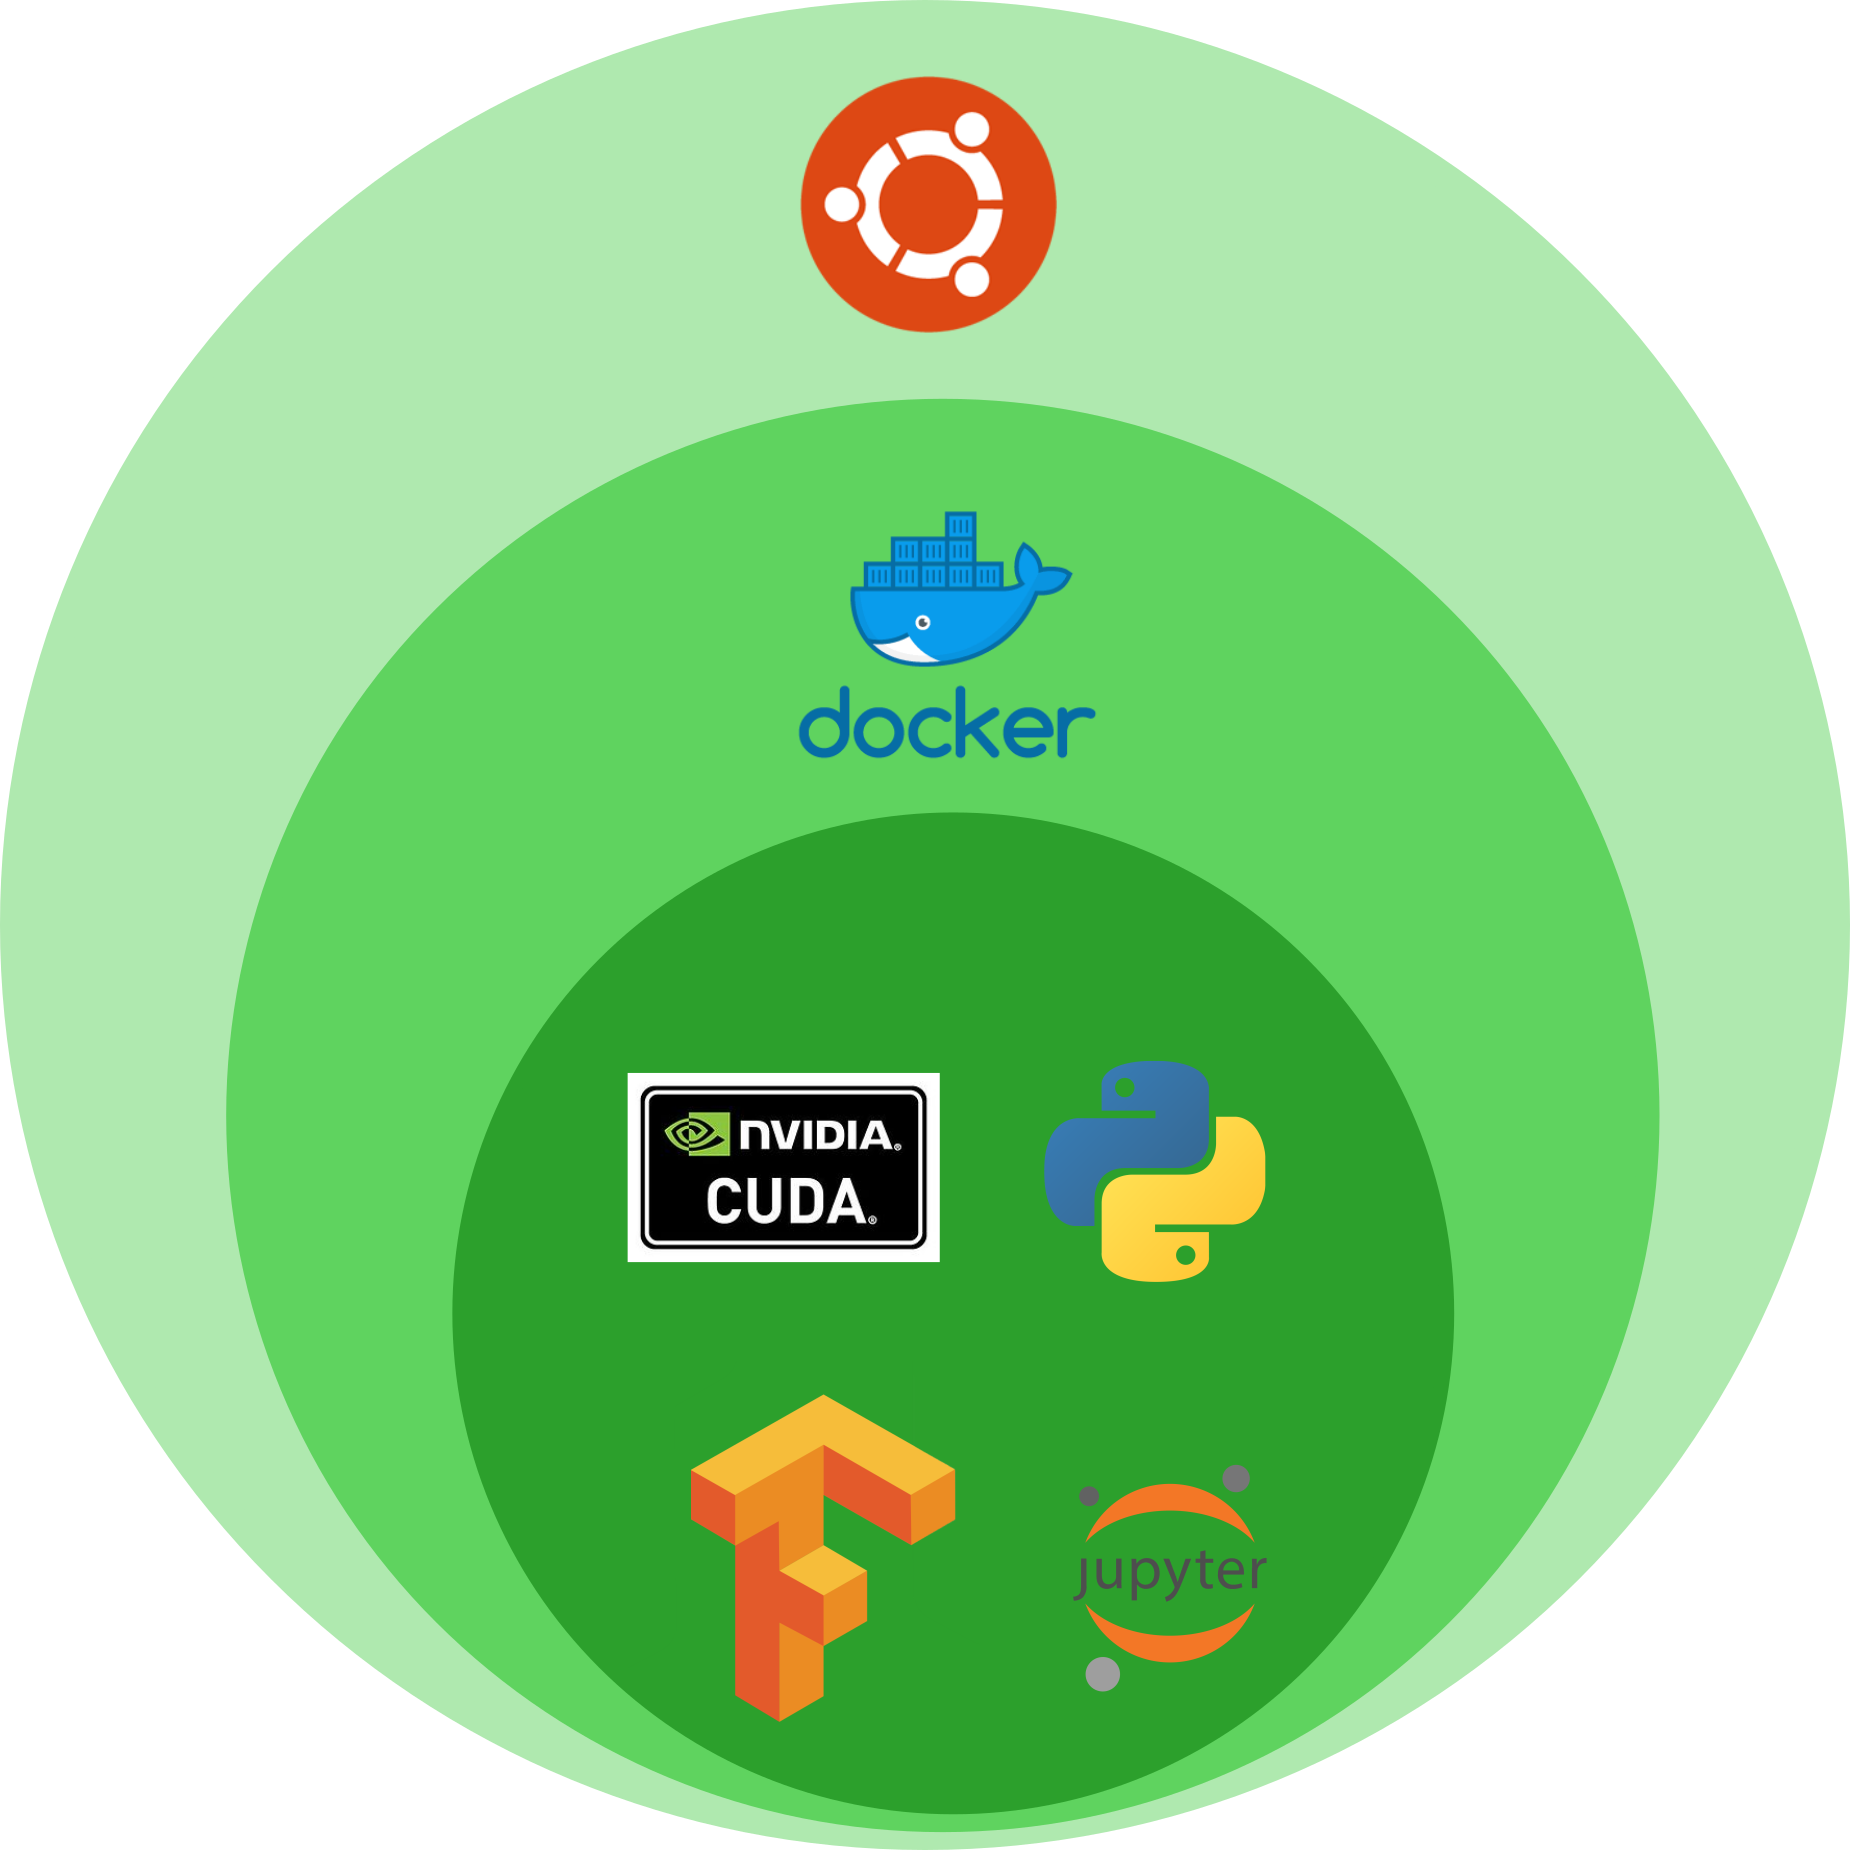
Docker is essentially a self-contained OS with all the dependencies necessary for a smooth installation. Here is a graphical explanation of the installation.
Let’s install!
First of all, check the instructions on the official TensorFlow page.
1. Install Docker
Please follow these instructions.
- Optional: uninstall old Docker versions
sudo apt-get remove docker docker-engine docker.io containerd runc
- Install required packages
sudo apt-get update
sudo apt-get install ca-certificates curl gnupg lsb-release
- Add Docker’s official GPG key
sudo mkdir -p /etc/apt/keyrings
curl -fsSL https://download.docker.com/linux/ubuntu/gpg | sudo gpg --dearmor -o /etc/apt/keyrings/docker.gpg
- Set up the repository
echo "deb [arch=$(dpkg --print-architecture) signed-by=/etc/apt/keyrings/docker.gpg] https://download.docker.com/linux/ubuntu $(lsb_release -cs) stable" | sudo tee /etc/apt/sources.list.d/docker.list > /dev/null
- Install the latest version of Docker Engine
sudo apt-get update
sudo apt-get install docker-ce docker-ce-cli containerd.io docker-compose-plugin
- Setup Docker-CE
curl https://get.docker.com | sh && sudo systemctl --now enable docker
- Add the current user to the Docker group (use Docker without sudo)
sudo groupadd docker
sudo usermod -aG docker $USER
Then log out and log back in to activate the changes (or reboot)
- Test that you can use Docker without sudo
docker run hello-world
- Check that you have installed Docker 19.03 or higher.
docker -v
2.Install the latest NVIDIA drivers
- Take note of your GPU brand and make
lspci | grep -i nvidia
# OR
sudo lshw -C display
-
Verify you have a CUDA-Capable GPU by checking if it is listed here.
-
Verify you have a supported version of Linux
uname -m && cat /etc/*release
You should check that you are running on a 64-bit system (x86_64).
- Verify the system has gcc installed
gcc --version
- Verify the system has correct Linux kernel headers
# list the Linux kernel
uname -r
# Install the Linux kernel hearders
sudo apt-get install linux-headers-$(uname -r)
- Install the CUDA repository public GPG key
distribution=$(. /etc/os-release;echo $ID$VERSION_ID | sed -e 's/\.//g')
wget https://developer.download.nvidia.com/compute/cuda/repos/$distribution/x86_64/cuda-keyring_1.0-1_all.deb
sudo dpkg -i cuda-keyring_1.0-1_all.deb
- Update the apt repository cache and install the driver
sudo apt-get update
sudo apt-get -y install cuda-drivers
- If you installed CUDA (not the case here), export Cuda to the PATH variable
export PATH=/usr/local/cuda-11.7/bin${PATH:+:${PATH}}
- Make this change permanent by adding it to your
.bashrc file
echo 'export PATH=/usr/local/cuda-11.7/bin${PATH:+:${PATH}}' >> ~/.bashrc
source ~/.bashrc
- Check that the NVIDIA Persistence Daemon is active
systemctl status nvidia-persistenced
- Disable the udev rule because it could interfere with the driver
# copy the udev rule
sudo cp /lib/udev/rules.d/40-vm-hotadd.rules /etc/udev/rules.d

# edit the udev rule
sudo vim /etc/udev/rules.d/40-vm-hotadd.rules
Comment out this line:
SUBSYSTEM=="memory", ACTION=="add", DEVPATH=="/devices/system/memory/memory[0-9]*", TEST=="state", ATTR{state}!="online", ATTR{state}="online"
- Verify the installation and write down the driver version (in my case 515)
cat /proc/driver/nvidia/version
- Enable NVIDIA persistence mode for GPU
sudo -i
nvidia-smi -pm 1
exit
- Enable persistence Daemon permanently
sudo apt install libnvidia-cfg1-515 #replace 51 with your driver version
sudo nvidia-persistenced --user USER #replace USER with your username
sudo reboot
- Install third-party libraries
sudo apt-get install g++ freeglut3-dev build-essential libx11-dev libxmu-dev libxi-dev libglu1-mesa libglu1-mesa-dev libfreeimage-dev
- Alternative installation of the NVIDIA driver on Ubuntu
sudo ubuntu-drivers devices
sudo ubuntu-drivers autoinstall
sudo reboot
3. Install the NVIDIA Container toolkit
Please follow these instructions.
- Setup the package repository and the GPG key
distribution=$(. /etc/os-release;echo $ID$VERSION_ID)
curl -fsSL https://nvidia.github.io/libnvidia-container/gpgkey | sudo gpg --dearmor -o /usr/share/keyrings/nvidia-container-toolkit-keyring.gpg
curl -s -L https://nvidia.github.io/libnvidia-container/$distribution/libnvidia-container.list | sed 's#deb https://#deb [signed-by=/usr/share/keyrings/nvidia-container-toolkit-keyring.gpg] https://#g' | sudo tee /etc/apt/sources.list.d/nvidia-container-toolkit.list
- Install the nvidia-docker2 package
sudo apt-get update
sudo apt-get install -y nvidia-docker2
- Restart the Docker daemon
sudo systemctl restart docker
- Test the installation of the NVIDIA Container toolkit
sudo docker run --rm --gpus all nvidia/cuda:11.0.3-base-ubuntu20.04 nvidia-smi
You should see some information about your GPU and the CUDA version installed.
4. Install the TensorFlow Docker images with GPU support
- Pull the image with GPU support
docker pull tensorflow/tensorflow:latest-gpu
- Run the Docker image
docker run --gpus all -it --rm tensorflow/tensorflow:latest-gpu python -c "import tensorflow as tf; print(tf.version); print(tf.config.list_physical_devices('GPU')); print(tf.test.is_built_with_cuda())"
This should return the TensorFlow version and whether GPU support is available.
Please have a look at my Docker cheat sheet for more information about Docker.
5. Run a TensorFlow container
Create a new container from the TensorFlow image.
docker run -it --rm tensorflow/tensorflow:latest-gpu
You should be logged-in in the new container. You can explore it using ls, cd, etc… You can exit using $ exit. Now let’s see a more practical example. First, let’s create a directory to exchange files between your machine and the container. In another terminal, run this to create a new directory for the Docker workspace:
mkdir ~/docker_ws
docker run -u $(id -u):$(id -g) --gpus all -it --rm --name my_tf_container -v ~/docker_ws:/notebooks -p 8888:8888 -p 6006:6006 tensorflow/tensorflow:latest-gpu-py3-jupyter
Let’s explain the different options.
-u $(id -u):$(id -g)       # assign a user and a group ID
--gpus all                 # allow GPU support
-it                        # run an interactive container inside a terminal
-rm                        # automatically clean up the container and remove the file system after closing the container
--name my_tf_container     # give it a friendly name
-v ~/docker_ws:/notebooks  # share a directory between the host and the container
-p 8888:8888               # define port 8888 to connect to the container
-p 6006:6006               # forward port 6006 for Tensorboard
Once the container is running, your should see a URL to copy and paste in your browser that looks like http://127.0.0.1:8888/?token=xxxxxxxxxx. You should then see a list of TensorFlow tutorials, as shown below.
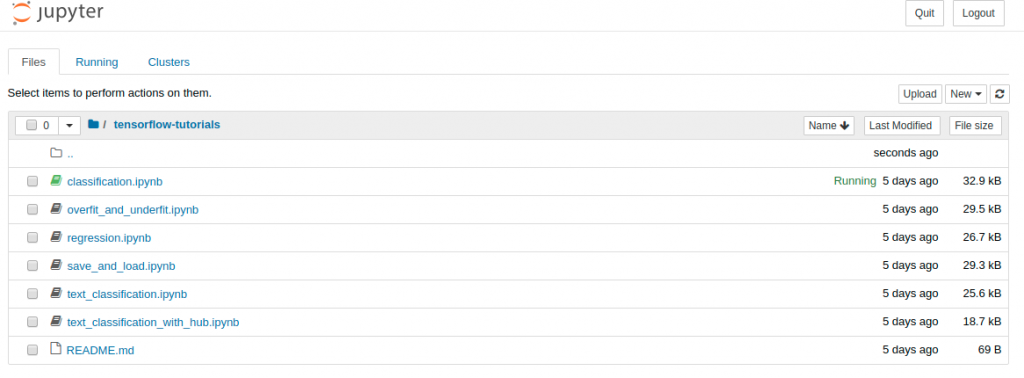 Tensorflow tutorials
Finally, you can run a command inside a running docker container with this command:
docker exec -it my_tf_container tensorboard --logdir tf_logs/
You should be able to access the TensorBoard page via this URL http://localhost:6006/ (see also this tutorial)
Play around with the tutorials and enjoy!


Leave a comment